As we all know a working fuel gauge is essential for both safe and effective driving. Your fuel gauge failing might be the last thing you want to find yourself stuck on the road with a fuel gauge stuck on an empty petrol tank. The good news is that a blown fuse may be the cause of a defective fuel gauge, and changing it can quickly restore your gauge to working condition. In this article, we will look at everything you need to know about the fuel gauge including how it works, possible reasons why it can stop working, and solutions for fixing it whether you have a Chevy Silverado, Ford F150, GMC, or Infiniti G35.
Where Is The Fuel Gauge Fuse?
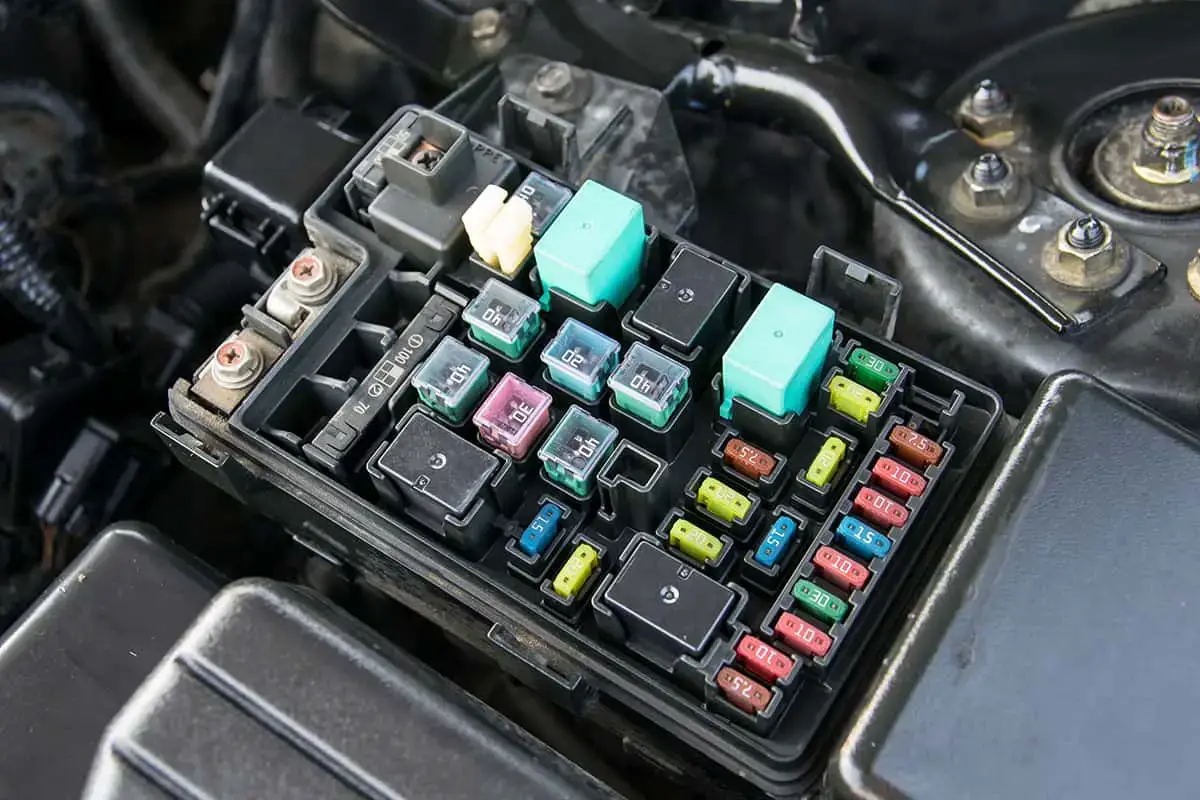
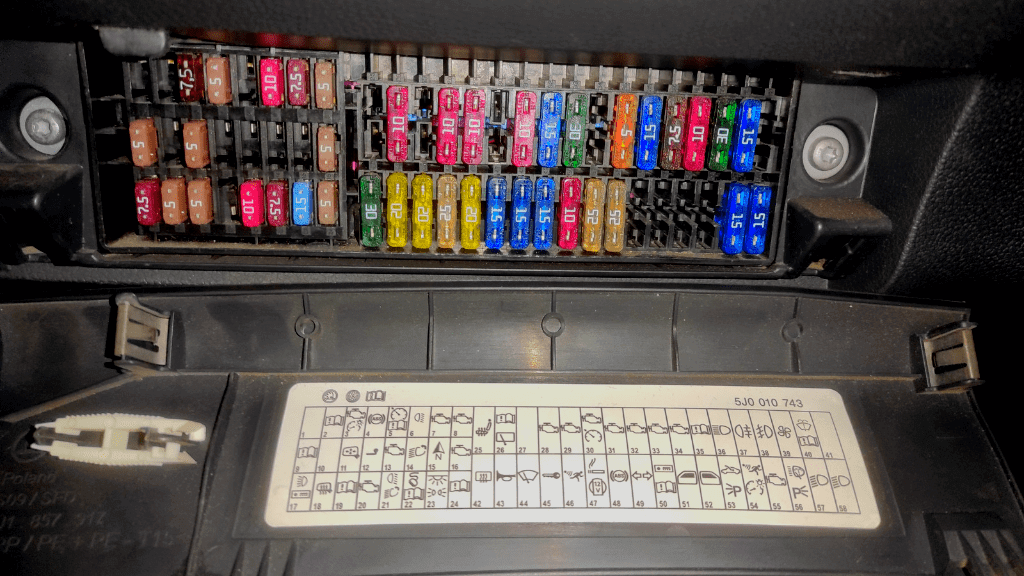
You have to find the fuse box in your car before you can locate the fuse for fuel gauge. Fuse boxes can be found in a variety of common locations, however exact positions might vary based on the model. Remember that some cars have more than one fuse box, so you might need to check more than one place.

Causes Why A Fuel Gauge Stops Working?
Let’s look into the more detailed causes of why a fuel gauge stops working:
1. Sender Failure
A problem with the fuel gauge’s transmitting unit is the most common reason for a faulty petrol gauge. This part detects the fuel level and transmits the data straight to the engine control unit or gauge. There are a lot of moving parts, so they might become disconnected. While defective resistors could result in changing readings, disconnected floats will always display an empty value.
2. Circuit Issue
The battery has to provide signals to the cables. Breakage, corrosion, and disconnections could result in problems with this. The fuel gauge requires operational wiring and circuitry because it runs on electricity. The gauge could fail to display accurately if there is insufficient voltage due to a malfunction in the system.

An interrupted ground connection could be the source of the problem in some situations. But any weak connection or rust might cause problems. Because of the constant exposure to the weather, the connection to the fuel pump module is where these faults are most commonly observed.
3. Failure of the Gas Gauge
Depending on the car, there could be a problem with the gauge or instrument cluster. Fused fuses or other internal circuit problems could be the reason for your reading problems. The fuel gauge has an internal circuit that is subject to failure. The needle might read at any level if this occurs.
4. Instrument Cluster Failure
The instrument cluster in today’s cars is a single, integrated piece of machinery. Rather than using separate circuits, everything is integrated. The gas gauge in this system could fail to function properly if the instrument cluster breaks. Unfortunately, fixing this is among the most costly issues.
5. Blown Fuse
The fuel gauge has electrical connections, but it also relies on a fuse. The fuse is placed on the driver’s side of your car, or in the box below the steering column. There could be a fuse box beneath the hood of some cars. It just takes a few minutes to check the fuse, and it is an easy task. To find out which fuse controls the fuel gauge, see the owner’s manual’s fuse map.

Similar Posts:
- Why Are My Parking Lights Stay On When Car Is Off?
- How To Test Alternator By Disconnecting Battery?
- Car AC Compressor Running But Won’t Take Freon
- How to Reset Transfer Case Control Module?
How To Fix A Fuel Gauge That’s Not Working
Fixing a broken gas gauge could result in significant cost savings on services or replacements. Let’s take a look at these solutions:
1. Self-Test Instrument Cluster
Check your owner’s manual to see if your instrument cluster has a self-test procedure; all vehicles made after the year 1990 have one, but each make and model has a different procedure. During the self-test, the fuel gauge should move through all of its locations; if it doesn’t, there’s a problem with the fuel gauge or instrument cluster.
2. Examine the Wiring
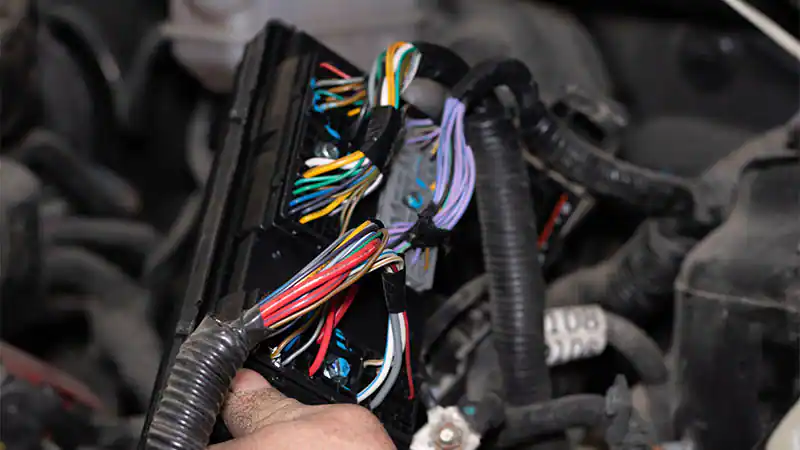
It takes some time to examine all of the wiring, but it is not hard. Starting with the gas tank, you should examine the electrical harness. It’s also important to inspect the ground connections since they can corrode from salt, rain, and snow. If you see any corrosion, take the connector off and give it a cleaning. Make sure it is reattached to the proper place. If you find any wires that are damaged, make sure to fix them.

3. Check the Gauges
Referring to the user’s manual, remove the instrument cluster to verify the voltage of the fuel gauge. Set the multimeter to 20V DC to test the wiring. If you get 12 volts, it indicates that there is a problem with the gauge and it has to be changed. Proceed to the next step to inspect the wiring if you detect a low voltage.
4. Sending Unit for Fuel
Once the tank is full, you can check the resistance with your multimeter. You can find out from your user manual if a car’s model and manufacture have the least amount of resistance when the tank is full or the highest resistance. This will be the problem if the reading you obtain is off by a few ohms. It could be more affordable to try using a fuel system cleanser to see if it fixes the problem before replacing the unit entirely.
Final thoughts
The fuel gauge mechanism is really simple, so diagnosing it shouldn’t be too tough if you have a basic understanding of mechanics and know where the issues are. The fuel gauge located in the instrument cluster, and the wire connecting them make up the three main components of the fuel gauge system. If none of the solutions in this article worked, you have to take a professional diagnosis of your car to get a more precise diagnosis.


![[FIXED] Fuel Gauge Fuse Location – Everything You Need to Know Fuel Gauge Fuse Location](https://carstale.com/wp-content/uploads/fuel-gauge-fuse-location-1024x457.jpg)