Do you notice some problem with the alternator of your car and suspect some problem with it as it isn’t charging your car’s battery properly? Don’t fret; in this guide, you can learn how to test alternator by disconnecting battery.
Why Test an Alternator?
Before taking you towards the step-by-step guide where I provide you with all the things you need to do, i.e., disconnect the battery while the car is running to check an alternator, let me first list some reasons as to why you should consider testing an alternator.
- Maintain Battery Health
A working alternator keeps your car’s battery charged, maintaining the overall battery health. A faulty alternator, on the other hand, can put an extra load on your car’s battery, leading to its wear and tear over time.

- Reduced Fuel Efficiency
A damaged alternator leads to extra load on the engine, resulting in reduced fuel efficiency. This not only increases the fuel expense, but less fuel efficiency also means bad engine health.

- Detect Warning Signs
Keeping a check on your car’s alternator helps you detect any early warning signs so you don’t have to struggle with a damaged one later. An early diagnosis could also help you keep the engine of your car safe, i.e., away from damage.

Note: Do you wonder why your check engine light went off by itself? Find out here.
Method on How To Test Alternator By Disconnecting Battery
At this point, you must have already made up your mind to check the alternator of your car by disconnecting the battery; even if there was any confusion earlier, here are all the steps you need to take to perform this task.
Step #1: Park Your Car
Firstly, find a safe place to park your car and pull out of the car. Ensure that the place you are parking your vehicle in is well-ventilated to avoid inhaling exhaust fumes. For safety purposes, wear safety goggles before starting the process.
Step #2: Turn the Engine Off
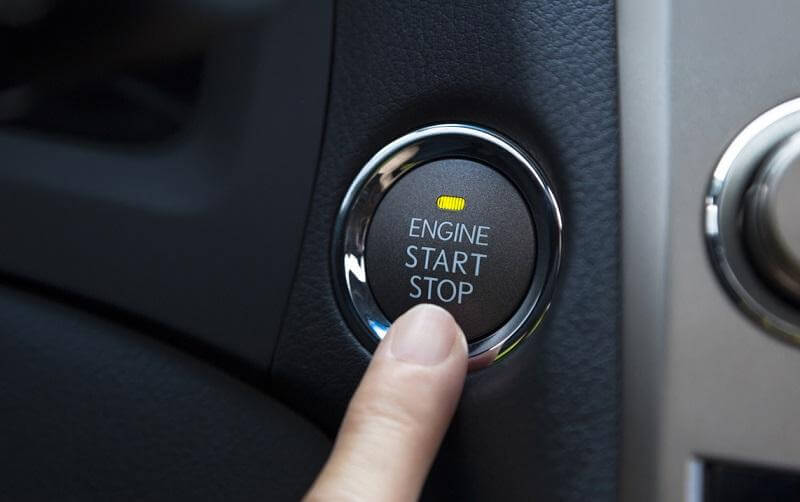
Once your car is parked, press the “OFF” button if you have an automatic car or simply turn the key for a manual car to turn the engine off. Move the gear stick to the parking or neutral position.

Step #3: Connect the Voltmeter
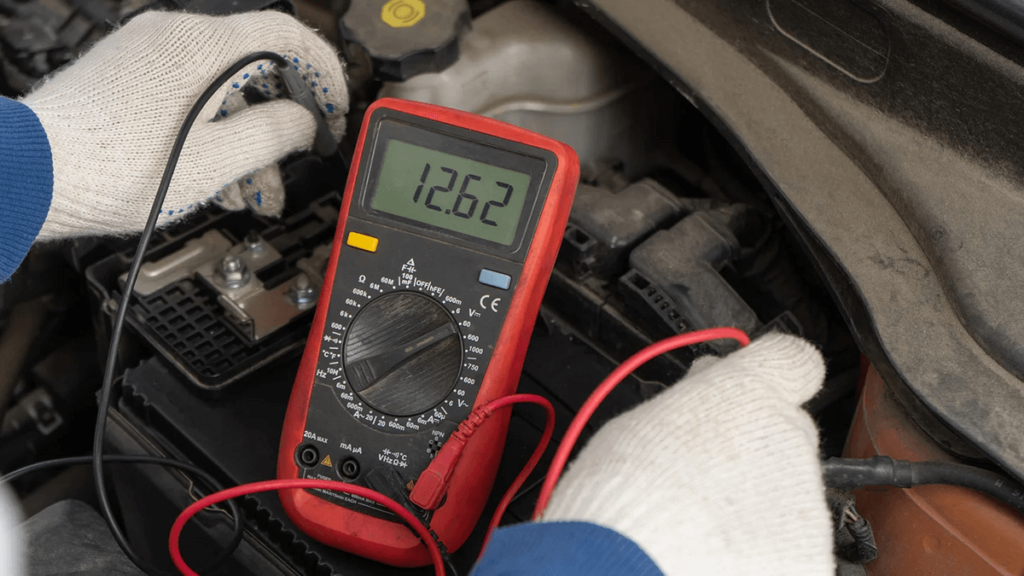
Open your car’s hood to access the engine compartment. Set the voltmeter to the DC voltage setting and connect it to the battery, i.e., the positive end or red lead to the positive terminal of the battery, and the black or negative lead to the battery’s negative terminal. Measure the battery’s voltage and see if it’s at 12.6 volts for a fully charged battery.

Step #4: Turn the Engine On
Now that the voltmeter is connected to the battery turn the engine on either by pressing the “ON” button or turning the key in the ignition.
Step #5: Test the Alternator
Once the engine starts running, check the numbers on the voltmeter. Increasing numbers indicate a working alternator as the battery is being charged. If the numbers remain unchanged or decrease, it’s a sign of a faulty or damaged alternator.
Note: Check out this guide to learn about common Mazda CX-30 battery problems.
Step #6: Revive the Engine
You can also revive the engine, i.e., increase its running speed to see if the alternator is charging the battery. If reviving the engine causes an increase in numbers on the voltmeter, it’s a sign of a working alternator. In the other case, there is something wrong with the alternator.
Note: If you have never tested your alternator by disconnecting the battery before, this video could help.
Conclusion
A faulty alternator might not seem a big problem, but if not addressed early, it could harm the engine’s health and functioning, costing you a fortune.
In this guide on “How to test an alternator by disconnecting battery?” I’ve provided you with all the information you could need to test the alternator of your car. Hopefully, you will use the above method to diagnose any faults in the alternator earlier, saving you from any later struggles.


![How To Test Alternator By Disconnecting Battery? [Explained] How To Test Alternator By Disconnecting Battery?](https://carstale.com/wp-content/uploads/test-alternator-by-disconnecting-battery-1024x457.jpg)