Came across an emission system problem while driving your Honda Civic and don’t know how to deal with it? No need to panic! I am here to help you locate and solve the problem.
When you face a check emission system problem, the light may turn on in your Honda Accord, Civic, Odyssey, Redline, Pilot, or CRV. This dashboard warning means there might be an issue with the vehicle’s emission control system.
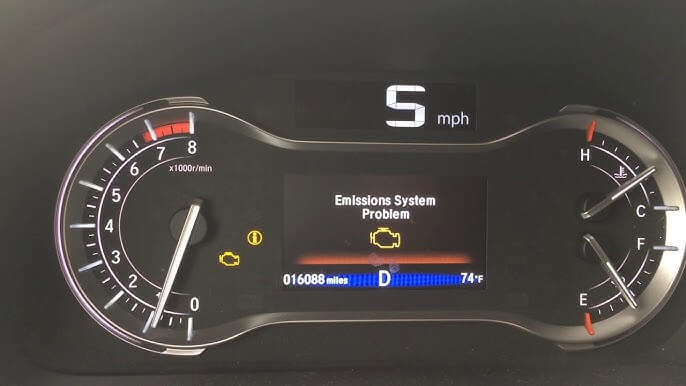
What Causes A “Check Emission System” Warning Light To Turn On?
The cause of an emission system problem mostly relies on the part that is damaged or faulty.
Let’s get into a little more detail about each of the components involved:
1. Faulty Evaporative Emission Control System
The EVAP system works to capture the fuel vapor emissions. An issue with any of the component of this system may trigger the check emission system light.
2. Malfunctioning Oxygen Sensor
An oxygen sensor is vital for proper combustion by adjusting the air-fuel ratio. It works by checking the oxygen level in the exhaust gases and a problem with this mechanism can result in an emission problem.
3. Bad Catalytic Converter
A catalytic converter converts the harmful exhaust gases into less harmful ones before emitting them into the atmosphere. A clogged or damaged catalytic converter can disturb this process and trigger the warning.
4. Leaks In Exhaust System
A leak or damage in the exhaust system allows unfiltered and uncleansed gases to leak into the atmosphere. This release, in turn, triggers the warning in a Honda.
5. Faulty Gas Cap
When a gas cap is loose or broken, it causes a leak in the fuel vapor system. This leak is then detected by the emission system of the vehicle and triggers the warning.
6. Problematic Mass Airflow Sensor
The MAF sensor works in a similar way as to the oxygen sensor and helps to control the air-fuel mixture. This system measures the amount of air entering into the engine. If this malfunctions, it triggers the “Check Emission System” warning light.
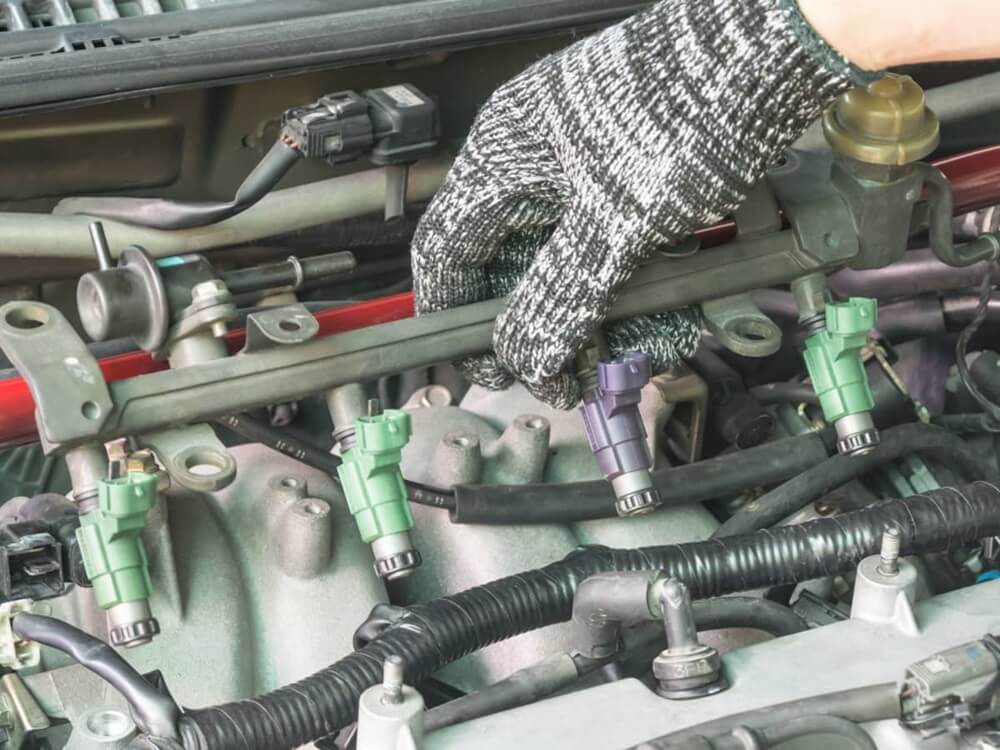
7. Damaged Fuel Injector
A faulty fuel injector leads to engine problems which can trigger the warning.
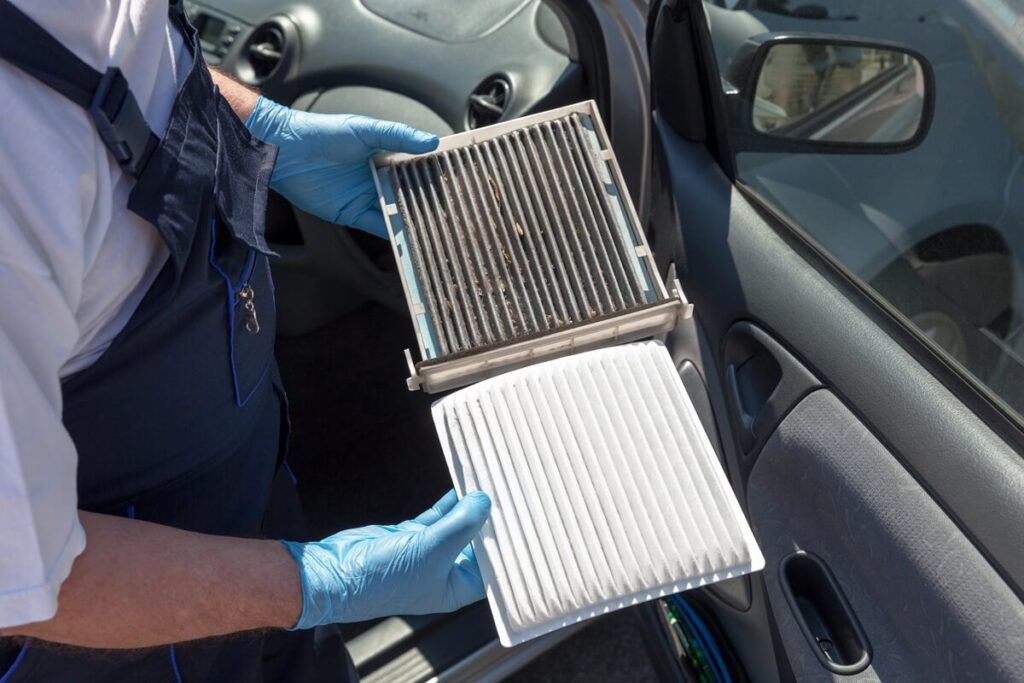
8. Dirty Air Filter
A clogged or dirty air filter blocks the airflow through the engine. This causes less air to flow through the engine, which in turn causes increased harmful emissions.
9. Faulty Exhaust Gas Recirculation Valve
An EGR valve regulates the amount of exhaust gases that are returned to the combustion chamber. This process minimizes emissions and the jamming of this valve can trigger the warning.
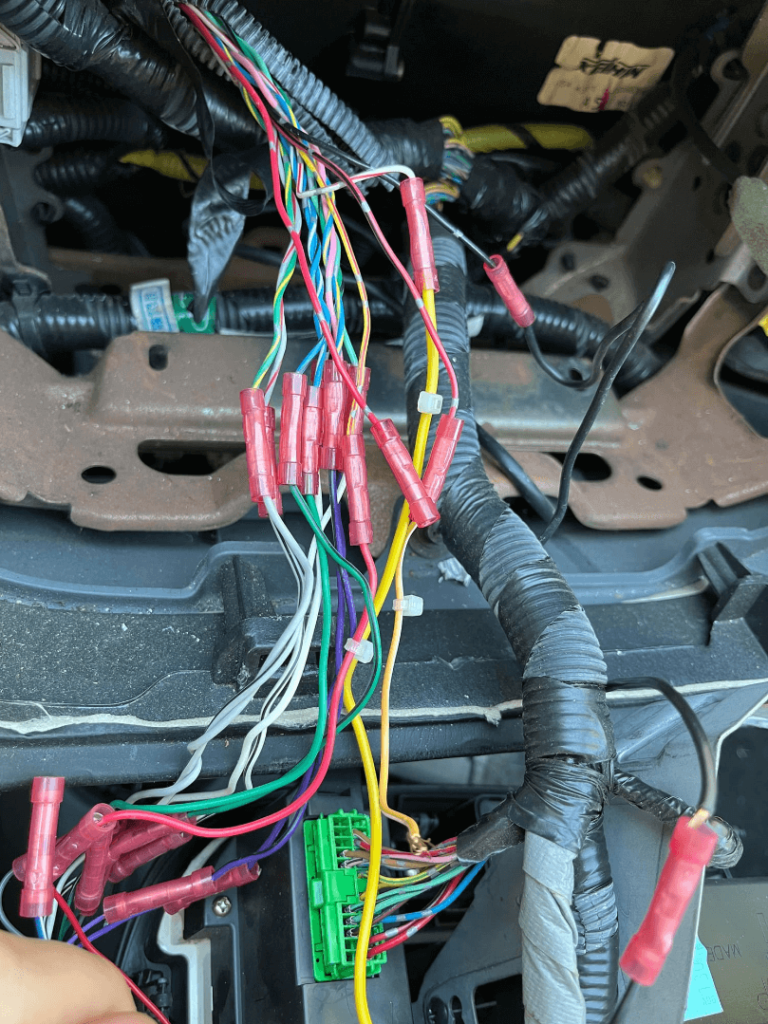
10. Wiring Issues
Faulty wirings or connectors in the emission system can disturb signals to the sensors, causing the warning to be triggered.
Similar Posts:
- Check Engine Light Flashing Then Stops
- Service Theft Deterrent System Car Won’t Start
- Low Washer Fluid Light Won’t Turn Off
5 Ways To Fix “Check Emission System Problem” Warning
Figuring out and fixing the emission system warning can be quite a long one due to a large number of components being a part of this system.
1. Check Each Component
The first and most important step to do is to check all the essential emission system components of your Honda Civic.
2. Check The Wiring
Check for loose or damaged wiring along any part of the emission system. If found, get the issue solved.
3. Inspect The Sensors And Actuators
If you find any fault in the sensors or actuators, these types of issues can be easily resolved at a lower cost.
4. Clean The Air Filters
If you find the air filters to be clogged, then the solution is as easy as it can be! Clean the air filters. You can use both a vacuum cleaner or water to clean the air filters effectively.
5. Check The Gas Cap
Remove the cap and then replace it properly. If the gas cap is broken, the only thing you need to do is replace the gas cap with a newer one.
Is It Safe To Drive With Check Emission System Warning Light On?
It is not safe to drive with an ongoing emission problem as it can result in decreased performance of your car. In severe cases, it can also result in further damage to your car’s engine.
Conclusion
Emission system problems can be a real headache when they occur, but with this guide, the solution is just a tap away. Just follow the guide and get done with the problem once and for all.
I hope this article helps you get back on the road safely and quickly!


