
It’s believed that OBD2 readers are easy to use and don’t have many complicated features, but this could still happen, especially with new cars. Nobody cares if 7EA comes up first; when they connect an OBD2 reader, they all expect to see a P0000-type failure code.
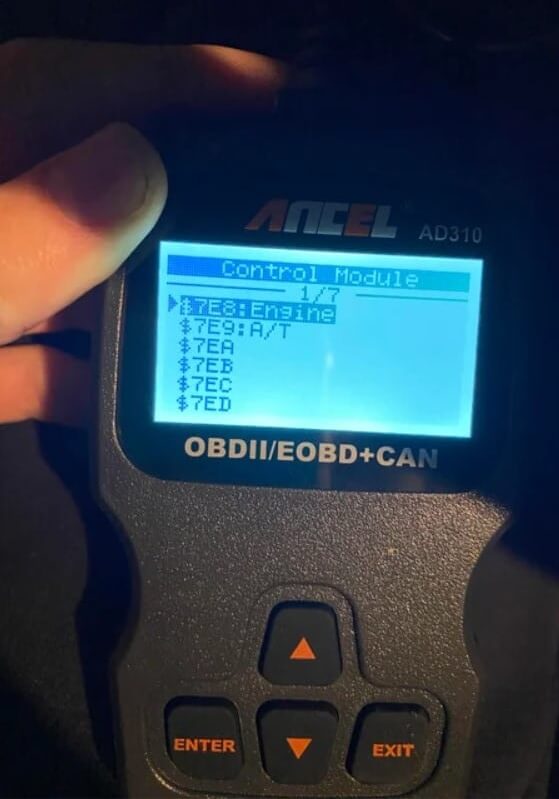
7EA is not an error code but a sub-menu on the scan tool, indicating a specific control module. Number three is 7EA, but it may vary between different car models. This means that the 7EA code doesn’t consistently refer to the same module.
What is the 7EA Engine Code?
We can say that 7EA is an additional engine code that only shows up when OBD code readers need more details to identify potential car issues, especially in Chevy, Cadillac, GMC, and Toyota.
[su_note note_color=”#fff73d”]Fortunately, the 7EA number doesn’t mean anything bad or dangerous. Because of this, you shouldn’t rush to get your car fixed if you notice this.[/su_note]
The engine control unit is a clear sign of the difference; code 7EB is linked to ECU 4, while code 7EA is shown when the tool can’t read ECU 3.
How Do You Figure Out The 7EA Engine Code?
Follow these steps to look at engine numbers 7EA and 7EB. This article is mostly about the 7EA engine code for the Chevy, but it may also be useful for a lot of other car models.
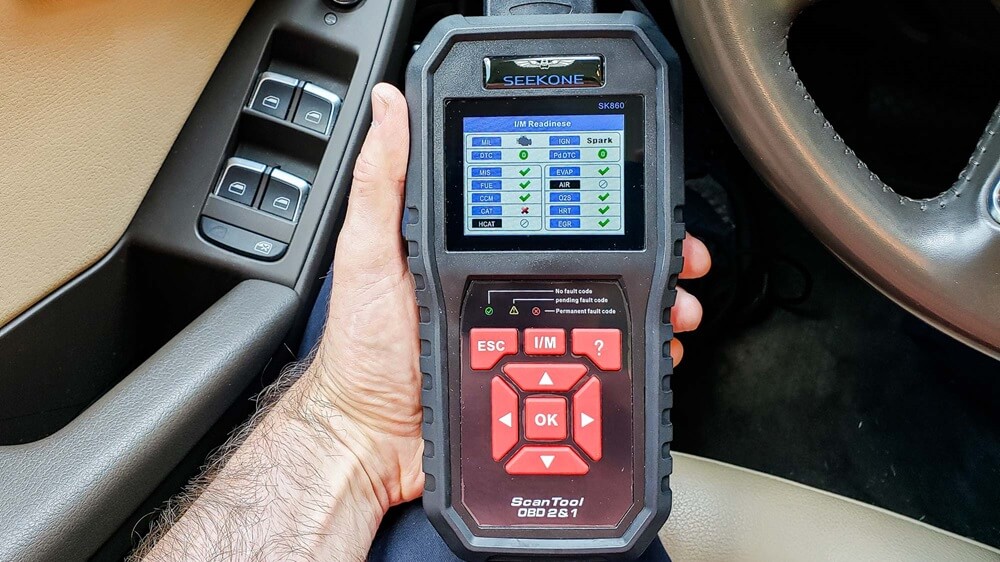
1. Find the Correct OBD Scanner
You will need to buy a more advanced OBD-I reader for cars that were made before 1996. However, our focus here is primarily on OBD-II since it’s prevalent in many modern cars. Before using it, ensure your OBD-II reader is in good working condition by checking for issues like a malfunctioning switch.
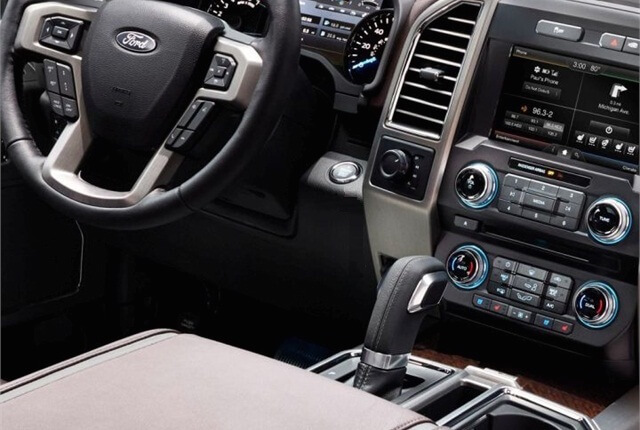
2. Locate the Diagnostic Link Connector (DLC) and Connect the OBD Port
The DLC is a round, 16-pin connection that you can find on the left side of the dashboard under the dashboard. If you want to learn more about the DLC, you can use a search tool to find out what kind of car you have or read the owner’s manual. Connect the wire from the OBD reader to this port.
3. Start The Engine
Turn on the car’s starter but don’t start the engine. Once it gets power, the on-board diagnostic (OBD) reader will be able to link to the car’s computer system. Check the wires and connections again if the reader still won’t work. If the problem keeps happening, make sure that the car’s additional power outlet is getting power.
4. Input Car Information
You might need to enter the VIN, model type, etc. for some on-board diagnostic devices. This is very important for OBD codes that are unique to a particular manufacturer because it makes the scanner’s output more reliable.
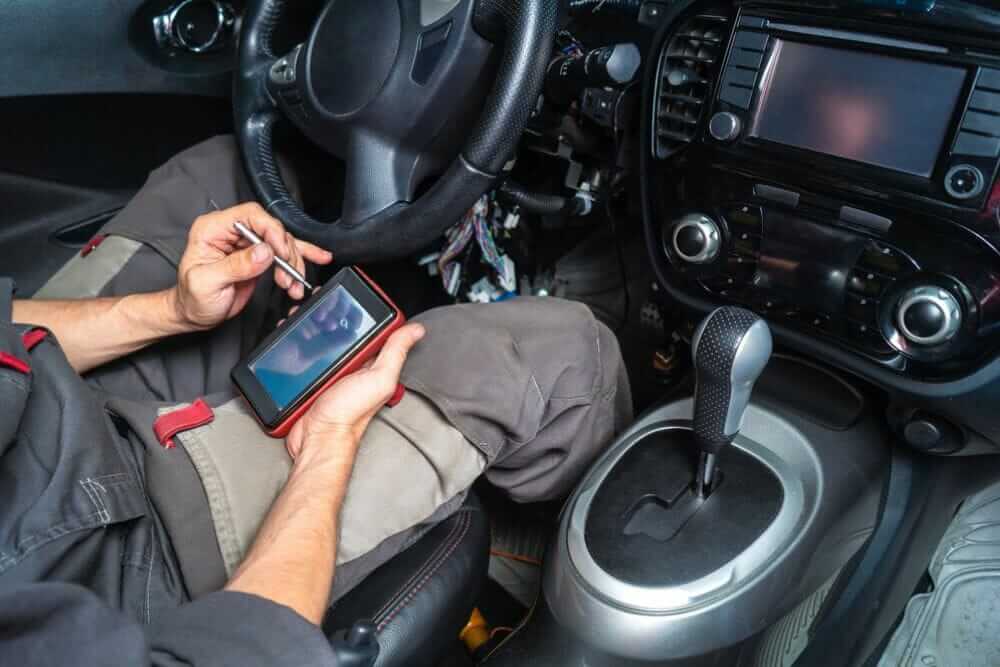
5. Navigate the Menu
Use your OBD reader to find your way around the Trouble Codes section. You can pick between current issues (those that are causing the Check Engine Light to stay on) and pending issues (those that might happen in the future).
6. Get the Code
Once you’ve made your selection, pick “Read Code.” See the results, and most of the time, get the code as well. If code 7EA is shown, more information is needed to look at ECU 3.
7. Deactivate the Engine Warning Light
As mentioned earlier, turning off the check engine light is important to fix the 7EA problem. After 3 or 4 tries, if the device still doesn’t work right, consider making another attempt.
Similar Posts:
Conclusion
Similar to the 7EB code, the 7EA engine code can only be fixed by fixing problems with how the OBD reader gathers data. It looks like the main fix is to turn off the check engine light and start the scanning process, even if it happens again and again. It could mean that there are bigger problems with the engine or the diagnostic tool.
The detailed steps for checking the 7EA code with an OBD reader allow users to get accurate information about the car’s condition and use that information to figure out what’s wrong and fix it.